Why the Original PSU Fails
The Commodore 64 power supply delivers two outputs: 5 V DC (for the digital logic) and 9 V AC (for the SID chip and other analogue circuits). The 5 V rail uses a 7805-compatible linear regulator in a sealed epoxy block. Over decades, the capacitors on the rectifier board dry out and the regulator's output drifts — sometimes exceeding 5.5 V. At those levels, the computer's RAM and custom chips begin to fail within minutes of power-on.
A failed PSU frequently causes cascading damage. Before condemning a Commodore 64 motherboard, always verify the supply first. Measuring 5.3 V or higher from the PSU's DC output is a definitive sign of impending damage.
Tools and Materials
- Digital multimeter with DC voltage range (0–15 V recommended)
- Oscilloscope (optional, but useful for ripple measurement)
- Soldering iron, 60/40 or lead-free solder
- Replacement capacitors: 2200 µF / 16 V and 1000 µF / 25 V electrolytic
- LM7805 or LM323K voltage regulator (the latter handles higher current)
- Appropriate heatsink for the regulator
- A replacement PSU case or ABS project enclosure
Safety note: the 9 V AC secondary is derived directly from the mains transformer. Always disconnect from mains before opening any part of the supply and discharge capacitors before handling the board.
Measuring the Output
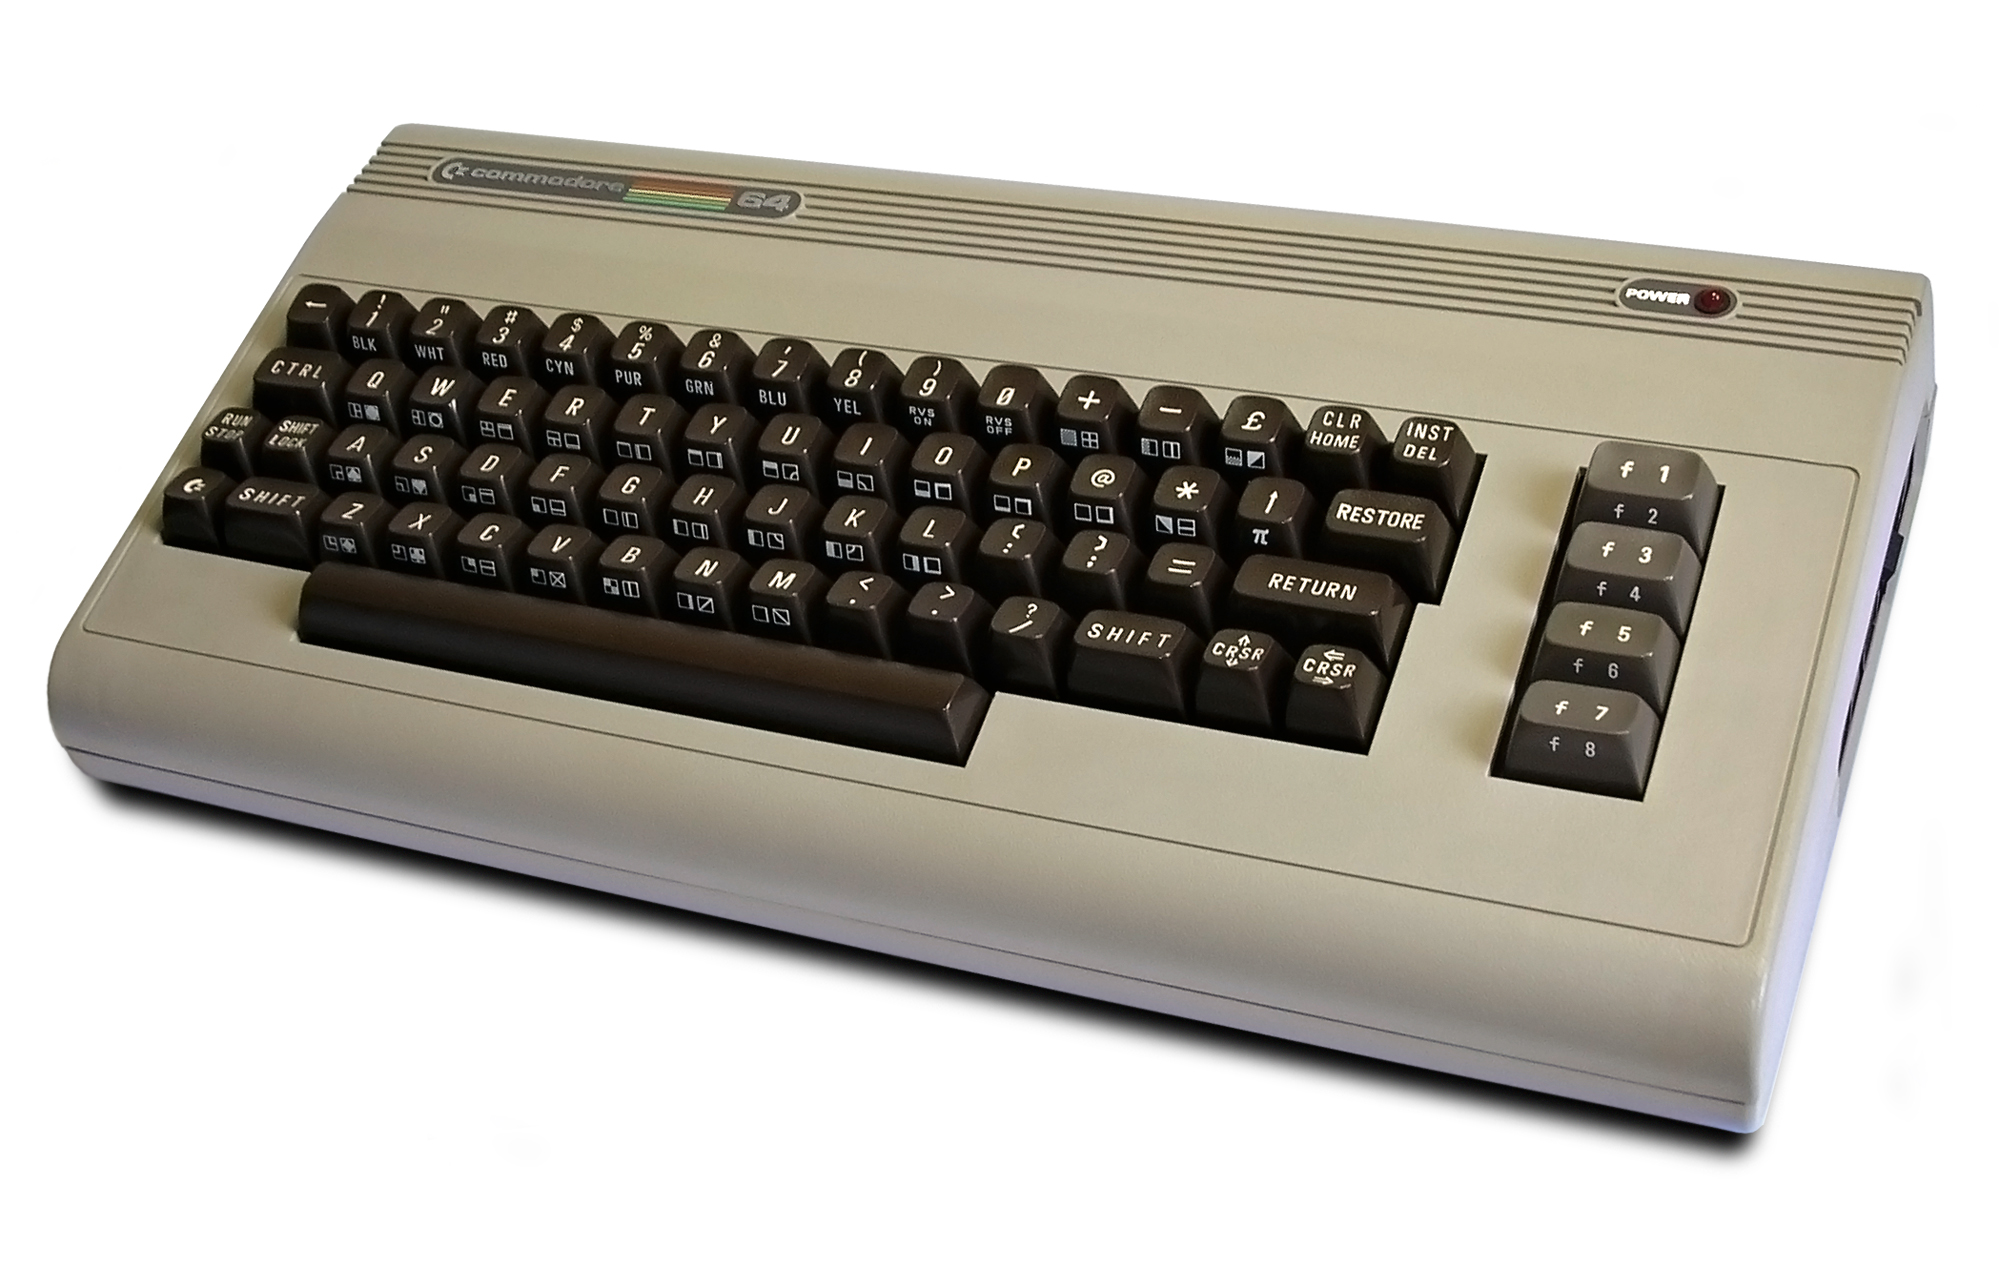
The C64 power connector is a 7-pin DIN socket. Pin 1 carries 9 V AC, pin 2 is ground (AC), pins 3 and 4 are both ground (DC), and pin 5 delivers 5 V DC. Pin numbering follows the DIN 45329 standard: looking at the socket from outside the computer, pin 1 is top-left and pins count clockwise.
With the multimeter set to DC voltage, measure between pin 5 and pin 3 or 4. A healthy PSU reads 4.85–5.10 V. Anything above 5.2 V warrants immediate replacement or rebuild. Below 4.7 V suggests heavy loading or a failing regulator junction.
The Rebuild Process
The original epoxy-filled enclosure is essentially disposable. Most restorers purchase an ABS project box of similar dimensions (roughly 110 × 60 × 40 mm) and build a new supply inside it. The preferred modern approach uses a switching-mode 5 V module combined with a separate small transformer for the 9 V AC secondary.
Option 1: Capacitor and Regulator Replacement
If the epoxy shell has not yet been cracked open, some suppliers offer pre-rebuilt PSU assemblies rather than DIY kits. For those rebuilding from scratch: desolder the original 7805 and all electrolytic capacitors, replacing them with components rated at 105°C rather than the original 85°C types. Fit the new regulator with a heatsink thermally bonded using compound paste. Recheck output voltage under load (connect a 5 Ω / 5 W resistor across the DC output to simulate the computer's draw).
Option 2: Modern Switching PSU
A 5 V / 2 A switch-mode module reduces heat significantly and holds its output voltage far more precisely. Popular options in Poland include modules from Meanwell (RS-15-5), available at TME.eu and Botland.com.pl. Combine this with a small 9 V AC transformer (0.5 VA is sufficient) and you have a PSU that will outlast the computer itself.
Testing and Reassembly
Before connecting the rebuilt supply to the computer, measure all outputs under load for at least five minutes. Ripple on the 5 V rail should remain below 50 mV peak-to-peak. Once confirmed stable, pot the assembly in the new enclosure and label outputs clearly. Mark the date of rebuild on the enclosure.
For reference schematics and further discussion, the Lemon64 forums maintain a long-running thread specifically on PSU repair, with measurements contributed by collectors from Poland and across Europe.
Community Resources in Poland
The Retrokomp event in Gdańsk, held annually, includes a hardware repair workshop area where PSU rebuilds are a regular topic. Warsaw's Retro Informatyka club meets monthly and maintains a shared component stock for members. Both are suitable environments for hands-on assistance if bench work is unfamiliar territory.
See also: sourcing capacitors and ICs in Poland and notes on restoring analogue audio equipment.